Sunday, October 26, 2014

Hull fairing and final epoxy coat

Upon my return from Sail Oklahoma, I continued work on the hull bottom.  In places where the fiberglass overlapped I needed to apply fairing compound and sand it back to make the transition gradual.

At the bow, the cloth on the garboard planks overlaps the bow transom, and the cloth on the tramsom overlaps the other way, and onto planks 2 and 3, which have no cloth.


The seam in the cloth falls across the garboard plank in front of the centerboard slot,


And at the stern transom cloth laps both ways, plus an extra thickness where the seam between the two pieces of cloth on the bottom meet.


The fairing mixture I used was epoxy thickened with micro-balloons (tiny glass spheres that sand easily.  I applied it to all the places shown above and sanded it back.  There were still a couple low spots (more easily detected with the hand than the eye), so I applied more to those areas and sanded again.  

I eventually got to a point where I decided it was good enough', and then applied a final coat of epoxy.  I did that because I felt there were some tiny spots in the weave of the glass cloth that were not fully filled, and on planks 2 and 3 there were a couple areas where I had accidentally sanded down to or close to bare wood.

The real test of how well I did on the fairing will be when the paint is on and the boat is out in the sun catching reflections from everything around.  But the shiny fresh epoxy gives a preview and confirms that it's good enough for me.


Sail Oklahoma report

A couple weeks ago my build progress got interrupted for a week as I traveled with my wife to the Sail Oklahoma 2014 small boat gathering.  We had a great time meeting new people and looking at a wide variety of home-built boats - everything from skin-on-frame paddle craft to large multihull boats.  

There were classes on various subjects and talks by boat designers from across the globe - U.S., Canada, Britain, Australia and New Zealand.  And the weather was poor enough at times with the remains of a hurricane wetting down the site that cramming into shelter and listening was a perfect use of the time.

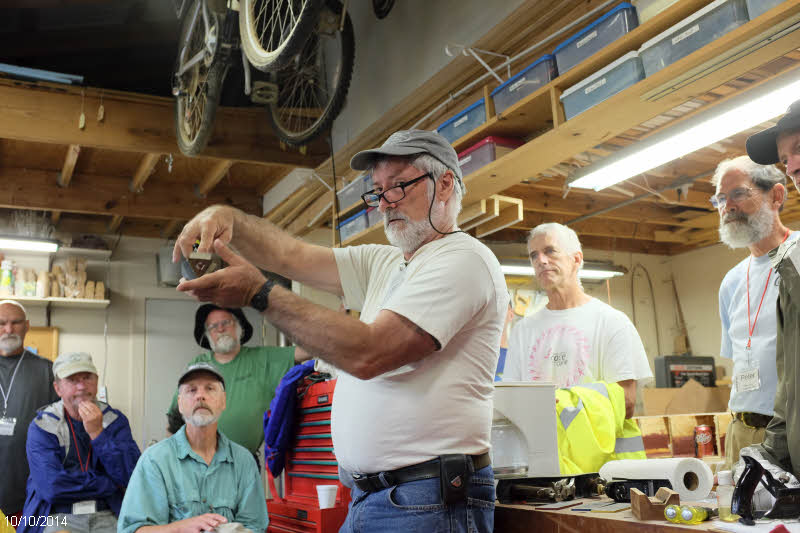
I was particularly pleased to meet and talk with John Welsford, the designer of the SCAMP sailboat.  Here's John teaching one of his classes - this one was on sharpening tools.


There were three SCAMPs there on the water, and the Monies' Red Scamp, which was on display in the yard. 

Here's Paul Breeding's "Forever Young", attending from Colorado.  This is the SCAMP that got me inspired to build my boat when I saw it at the Lake Pepin Messabout 18 months ago, and Paul was nice enough to take me out in her:


Here's Phil McGowan's Scamp, down from Idado, which I was also able to sail in:


And from Florida, here's Kenjamin's experimental take on the design, with his wishbone mast in evidence. 


There were also other Welsford designs attending - here's a Tread Lightly from Kansas:


And a real nice Houdini from Tennessee:


A Navigator from the local area, 


And a John Fisher's Sweet Pea, also from Colorado.  We had a nice sail on her.  She's a much bigger boat than the Scamp, and has been on the TX200:


Probably the single design with the best representation were the Puddle Duck racers.  PDRs are boxy 4 foot wide 8 foot long sailboats.  The hull form is specified, but above that anything goes.  Here's a cool artistic take on the design - the Chevy Duck, with working lights:
  

Those duckers have a lot of fun - here's a shot of them out on the course rounding the first buoy in their class race.  Of course the buoy is - an inflatable duck!


These are simple boats that are a lot of fun - I may have to put one of these together after my Scamp is done...

Thursday, October 2, 2014

Fiberglassing the hull

With the hull bottom filled, sanded, and edges rounded over I could proceed to apply fiberglass.  I purchased 50" wide fiberglass, which I believe is the widest that is generally available.  Even so, this width is not wide enough to cover the hull bottom and both garboard panels, so a seam is needed.

I determined that I could lay the cloth on the hull so the seam would run through the middle of the centerboard slot, reducing the amount of overlap that needs to be faired and smoothed over.  I covered the remainder of the hull with a leftover piece of a narrower width left over from a previous kayak project.


After trimming the edges I started saturating the fiberglass.  Rather than using a squeegee this time, I used a roller to apply the epoxy.  This worked well, was very controllable, but was somewhat slow.


Job done.  Here you can see the overlap seam aft of the centerboard slot.  As it turns out, this will be near the skeg that is installed later, so any unevenness in the seam will be fairly unobtrusive.  Another reason to run the seam here vs. down the center of the hull bottom.


Here's where I ran the seam in front of the centerboard, minimizing the amound of fairing I will need to do.


I also applied cloth to the bow and stern transoms, and overlapped that onto the hull panels. This was a little fussy, as I had to cut away around the hull strake laps.


And here's a shot with the first coat of thickened epoxy on the cloth, and the 2nd coat of epoxy on hull panels 2 and 3.


After I finish filling the weave of the fiberglass, the skegs get installed, and then paint.

Rolling the hull and prepping for fiberglass


Now came a moment I'd been anticipating for a long time - rolling over the hull.  To prep for this I got 4 hefty eye bolts and screwed them into the ceiling joists.  After removing the four screws holding the boat to the jig, I looped my big cargo straps under the hull, ratcheted it up, and removed the building jig.


I resisted the urge to climb in and sway around and pretend I was at sea...


I was able to roll the boat pretty easily, while my wife watched that the front strap didn't slip off the bow.  The hull didn't really spin freely in the straps - I had to lift and slide.


When it was completely upside down I placed a couple sawhorses under the seats after measuring to ensure they were tall enough to keep the cabin roof off the floor.

These straps quick release rather than gradually lowering, so we worked this by me supporting the boat, my wife releasing the strap, then I would lower the boat a bit and she would tighten the strap again to support it.  It took a couple iterations, switching from one end of the boat to the other, and then we were securely on the saw horses. About a half hour process overall.

With the hull upside down I could clean up around the ballast tank drain.


And trim off the ends of the centerboard case. 


And fillet the hull panels and fill in the garboard/hull bottom joint with thickend epoxy.


After that cured I gave that joint a generous round-over,


And also rounded over the hull panels where they join the bow and stern transoms. 


And routed a round-over around the centerboard case opening.


I finished up by sanding the hull in the areas that will have fiberglass applied, to remove any rough spots.  

I feel good about getting past this step of the process!

Rubrails installed

Rubrails are just about the last structural item to install.  

But before doing that, I put on this trim piece on the bow.  The plans call for the bow transom to be completely flat, but when I installed the deck I noted that I had a bit of extra length, and so left it in place.  I now cut this piece to finish off the bow.  No steam bending or anything here, it's just cut to shape.  It has beveled edges top and bottom and fits in nicely.  There will be a shadow under this and I think it will look better than a completely flat front.


For rubrails I elected to use some clear fir I had on hand in 14' lengths, old floorboards. They were pretty dirty to I cleaned most of that off with a sander, then ran them through the surface planer, and cut them to width with a circular saw.  The sheer curves horizontally, vertically, and twists, so I had to soften these up with the steamer.  It took a lot of steaming, and even then this wood didn't bend too well, but it was enough.  

I clamped them in place below the gunwale to hold their shape.


And after they cooled down removed the plastic back and reclamped them to dry.


Then installed them with epoxy and used screws to clamp them.


All trimming and rounding of edges will be done with them installed on the boat.


Transom cap installed

With the seat backs in place, I could now move on to install the transom cap.  

This was a bit of a problem to deal with.  It's fairly stiff and needs to be beveled on the ends to fit against the deck.  As I was fitting this I discovered that I had beveled the top of the transom in the wrong direction (lower in back), so I fixed that first.

After a bit of trial and error I got the bevel right on the cap right, and with a set of helping hands secured the ends with a block and screw.


To fill the void under the cap and above the deck, I shaped an insert that I could glue in place.  You can see here I cut it a little short, but a little thickened epoxy will take care of that more easily than remaking the part.


After gluing in the spacer blocks I glued down the transom cap and held the ends in place with three screws each.  


I also glued the doubler under the cap at the same time.


After the epoxy cured I unclamped and sanded a roundover on both edges.  Looks good and really stiffens up the transom. 


Seat backs installed

Time now to install the seat backs.  I didn't have any clamps that would work for this job (though I am thinking I will make some of the deep-reach cam clamps in the latest WoodenBoat magazine for future jobs like this), so I resorted to using screws.  This worked pretty well,


though it left a bunch of screw holes to fill.


With the seat backs in place I cut and installed the little triangle transition pieces.  The ones included with the kit didn't fit quite right, so I cut my own from scrap.  Masking tape holds the part while the epoxy cures. 


I then rounded the outer edge and filleted the inner curve and appliet a bit of fiberglass cloth.  I like the way the cloth shifts to cover complex shapes like this without the need of cutting any darts or anything.


I saturated that with epoxy.


and put a piece on the inside, too. 


And also took this opportunity to put fiberglass tape along the deck/cabin side joint. 


Here's my first pass with the fairing mixture.  It sagged a little on the vertical surface.


And here's after a bit of sanding.  This still has a ways to go before I'm done.


I then turned my attention to the reinforcing rail on the seat back.  I made this from two thin strips, so I was able to clamp them in place without steam bending.  

I first laminated them  in place on the seat back, but not glued to the seat back.  After the epoxy cured I then took the lamination off and cleaned up the bottom edge, tapered it toward the rear end, and rounded over the bottom corner with the router.  Then I took the result and glued it in place on the seat back.


I cut and fit the return on the front edge,


And trimmed the back to length. 


A little bit of sanding finished it off.


I plan to install a cap on top of this about 1/2" thick.  That will cover the exposed edge of the plywood and allow me to put a nice generous round over on to make it more comfortable to have an arm resting against.  I may also add a wider section if I find that I like to sit up on the rail.  I didn't know where the best place for that would be at this point, so that's a future item.