Saturday, May 10, 2014

Cockpit sole laminated

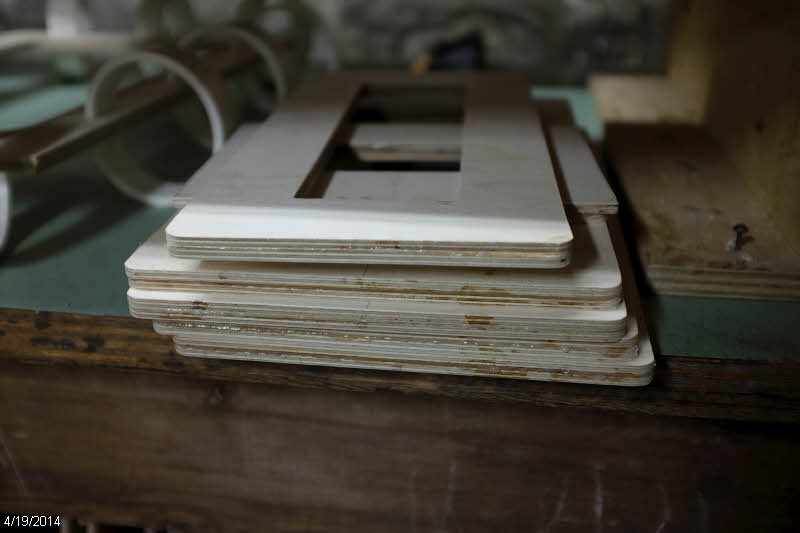
Well, here's a job I had been putting off for a while.  The cockpit sole (floor) is made up of two layers of 9mm plwood that need to be laminated together. Getting these property aligned and sufficiently clamped was something I had been worried about.

The builder's manual suggests doing this in the boat, first gluing down the bottom layer, then screwing the top layer to the bottom layer and venting the epoxy out through a whole array of 1/4" holes drilled for the purpose.  My objections to that method are 1) it's hard to work inside the boat, 2) it would be a pain to fill all those screw and vent holes, 3) it would be more difficult to fillet around the edges.

I decided to laminate the two layers on the bench.  And since I have a number of hatches in the floor, I felt I could get good clamps in the center areas of the floor.  I made sure I had a good coating of epoxy in the areas around the hatch openings and in the areas where I have drainage channels from the hatches to the gutters along the edge of the floor.


Next I took two 2x4s and jointed one edge straight.  I then ran them through the planer to straighten the opposite side and ensure they were the same thickness.  I set these up on a table and shimmed them until they were parallel.  This allowed me to elevate the parts above the table and have room for clamps.

Then I spread thickened epoxy with a grooved trowel.


And proceeded to use almost every clamp I own in the glue-up!  


After the epoxy cured I ran a fillet along the edge of the gutter. 


I even remembered to keep my drainage channels clear of epoxy both in the glue up and the filleting!


I'm glad to have that job done.

Rudder head begun and Mast material obtained

Again looking ahead I could see I'd want to put a rudder on this boat sometime, so I started looking into gluing together the head that holds the rudder.  This is made up of a sandwich of plywood pieces.  

The two outer pieces have areas that bear against the rudder allowing it to pivot up, and the tiller that gets inserted into the top.  These two areas get a layer of fiberglass cloth.  I traced the outline of the inner plywood pieces and applied some 6 oz fiberglass cloth.


I filled the weave with thickened epoxy left over from one of the other gluing jobs.


And then scraped/sanded that smooth.  I think I will finish this off with an epoxy/graphite mixture for abrasion resistance.


I also have been trying to figure out what stock to use for the mast, boom, and yard -- the important pieces that carry the sail.  I visited the local big box lumber yard a couple times trying to find something usable.  And I think I could have made that work with a lot of waste and a lot of scarf joints.  And a lot of time spent.

I finally decided to go first class and took a day off from work to make the 400+ mile trip to McCormick Lumber in Madison, WI, who stocks Sitka Spruce, catering to the local iceboat crowd as well as shipping across the country.

I got four boards - 6" and 9" wide, straight grain, no knots, 16 feet long.  Just beautiful!  Yes, and expensive.  But beautiful!


I'm going to have to move the saw, planer, router table, and dust collector out to the garage to process these, as my shop isn't big enough to handle them inside with the boat in there.  I'll need the full board length on both the infeed and outfeed sides of the machines.


Portholes begun

I continue to try to plan and work ahead where possible, and one of the things I have been thinking about are the portholes.  I've seen a variety of ways to build these.  One ingenious one was Mike Monies' idea for the Red Scamp of using clear round hatches.  That's quick, easy, and inexpensive -- all good.  But I wanted better viewing and so was looking for glass.  

I checked into bronze portholes, and could order those for about $700/pair.  Yikes! So, I decided to try something different.  

I went to the local glass shop and had them cut two 5" diameter circles of safety glass.  This is like a car windshield, with a layer of plastic between two panes of glass.  If this breaks, the pieces are held together by the plastic.  (The other two options are plain glass, which would send sharp shards all over if broken, or tempered glass like a car side windows, which breaks into a zillion bits if broken.  I think the safety glass is the right choice.)

After I got the glass (about $30 for the pair), I cut matching holes in the cabin sides, and cut wood backing plates for the inside.  The backing plates cover about 1/4" of the edge of the glass.

Here's what the view will look like from the inside


I centered the rings and glued them on.


And cleaned up the epoxy squeeze out after it cured.


For the outside of the portholes, I'm planning to cast an aluminum ring that will bolt through the inner backing plate.  I hope to seal the glass with a 5" O-ring if I can find that.


Steam bent 'glovebox' shelves installed

A while ago I saw on the Scamp forum an idea another builder had to include some shelves under the seats to store little things like car keys, wallet, etc.

I decided I wanted to do the same, and I realized the time to do that was now, since it's almost time to install the seat tops.

I first contemplated and measured and picked a size for the shelves.  They are about 1 foot long and 5 inches wide.  I cut stock to rough size and fit it to the hull.  The edge that joins the hull needed to curve front to back, and bevel top to bottom.  This was pretty easy to do with the 12" disc sander.  I decided I wanted rounded corners, so I cut and sanded those, too.

I determined I wanted an edge to the shelf about 2" high, and fit around the curves of the corner. A little steam bending seemed to be in order.  I glued up some scrap for a form and traced the profile of the shelf, then cut it out with the bandsaw:


Look for my earlier post on steam bending to see the steam generator/plastic bag 'steam box' that I used.  Same technique here.  After each piece cooled a bit I clamped them against the shelves to dry out and fully cure overnight.


I then coated the inside of the sides with unthickened epoxy to seal the grain, and let that cure.  Then used thickened epoxy to glue the edges on and glue on some little bracket supports.  I used the 23-gauge pin nailer to hold the parts in place while the epoxy cured.


I then ran a fillet around the inside, and trimmed the overhanging ends of the side pieces to fit the hull.  


To install the shelves in the boat I placed them against the inside of the hull and traced around them.  I then shot pin nails through the hull from the inside near the ends of the shelf and bracket outlines. I then connected the pins with lines, showing me where the centerline of the shelf pieces would be.


I then coated the mating surfaces of the shelf with thickened epoxy and held it against the hull, while a helper shot pin nails from the outside of the hull into the edge of the shelf and the bracket.  We were able to hit the target with each of the three nails we used per side.  No further clamping was needed.


Here's a view of the starboard shelf looking through the access hatch in B4.  After this photo was taken I also added a fillet between the shelf and the hull to reinforce the shelf and finish off the inside.


And here's the reverse view of the shelf with the first coat of paint.  It's a bit tricky painting the bottom surfaces upside down and backward using a mirror to see what's happening.


This little project took some time, but I'm pleased with how it turned out, and I think these shelves will be really handy.

Hatch stiffeners and backing plates installed

I'm finally nearing the end of the hatch construction.  I finished laminating the backing plates,


leaving me with a stack that all needed to be cleaned up of squeeze out, corners rounded and edges routed.


Then I could epoxy them to the hatch covers.  Again I used the trick I've mentioned before, of inducing a little twist in the opposite direction of the twist in present in the hatch lid.  After the epoxy cures and the clamps are removed I end up with near perfect flatness in the lid, which is important for the seal against the gasket.


Then it's time to coat the bare wood with epoxy, sand, and coat again.


Here I'm installing the backing plates for the round hatches in B4 and the aft seat tops.


Interior spaces all painted

Well, I have not been keeping up so well on the posts lately, but I'm catching up now with these next few posts.  

I've got the hull interior spaces all painted with several coats, and it looks good.


Here you can see that I had packing tape masking off the area where the seat meets the hull panels.  I pulled the tape off and I have clean hull panels to take the fillet that will fasten the seats to the hull. 


Here's a shot showing the storage space in front of bulkhead 3.  I like the Rustoleum paint.