Showing posts with label boom. Show all posts

Sunday, March 1, 2015

Mast and spars - final sanding and shaping

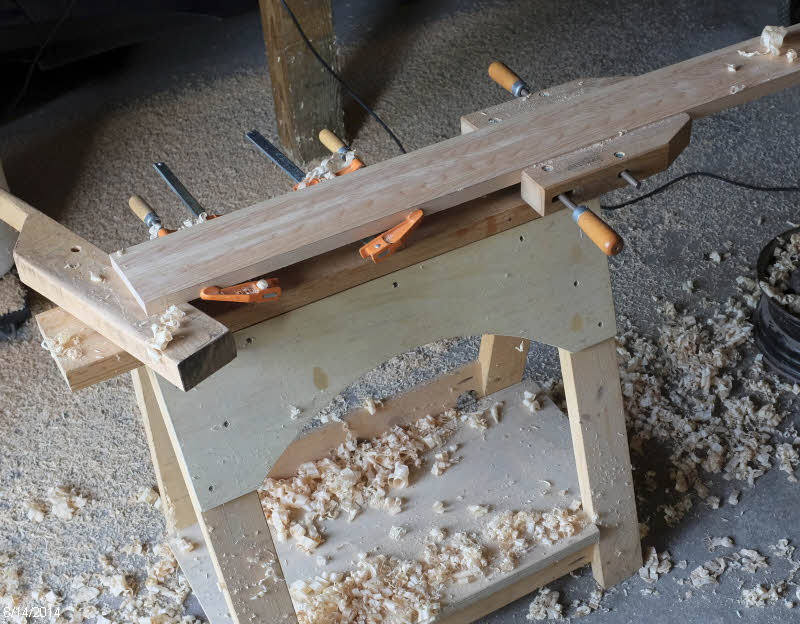
With the mast fairly round after my work with the hand plane, I continued with the final sanding.  I used a power sander to knock down the worst of the ridges, but my hand could still feel edges, so I then worked it over a couple times with a long strip of sandpaper, which could wrap around and did a good job of taking off the high spots.  It's pretty round now, and I've judged it good enough. Here's a shot of the base:


This is what a scarf joint looks like in one of the staves.


I then took my shinto rasp to the top end for a rough shaping.


And then finished up with 80-grit sandpaper over a foam sanding block.  80-grit is the finest I've used anywhere on the boat.


I then spent some time figuring out where the sail would lay on the spars, so I could determine where to drill the holes to hold the ends of the sail to the boom and the yard.  This took a while on the boom, as I also was figuring out where the eye straps and cheek blocks would go that handle the reefing lines.  I built my boom 6" longer than the plans, and ended up cutting two inches off.


I then rounded off the ends of the boom and yard, and drilled holes to lash the ends of the sail in place.  I coated the inside of the holes with epoxy.


I also rounded off the edges on the base of the mast,


And applied a layer of fiberglass to the plug for wear resistance, as this will be inserted into the mast step with each voyage.


At the same time I filled in some small voids in a couple places on the mast.  These were caused when I had a bit of a glitch routing out the V-grooves. The stave rode up and the router bit cut a little closer to the edge in a couple spots.  I didn't have quite enough epoxy spread in the joint to fill this on initial glue up.


So I brushed in a little unthickened epoxy, which flowed in to fill them completely.


When the epoxy cures I will sand things smooth, run a fillet around the plug in the bottom of the mast, and then coat the mast and spars with epoxy.  As of now I plan to paint the boom and the yard and varnish the mast to show off the wood.

Here's a sneak peak of the start to an upcoming project - I found this one really nice 16' long cedar 2x6 in the rack at Menards.  Nice tight grain and very few knots.  I'm planning to use this to build my yuloh - a Chinese sculling oar that I will use to move the boat when the wind dies.  I'll have more information on that to come.


Saturday, August 16, 2014

Mast, boom, and yard - making some expensive shavings

A couple posts ago I talked about installing the gunwales and carlins on the hull, and discussed the problems I was having with the epoxied scarf joints giving way under the heat of the steam. To avoid the problem when installing the carlins, I wanted to get those parts in one piece.

My thoughts turned to the four beautiful Sitka Spruce boards I have had taking up space in the garage since April or so.  These were destined to be turned into mast, boom, and yard.  But I took another look at them and realized that with judicious layout and cutting I would have enough stock to get the carlins out, too.

Since the carlins were next to be installed, I decided it was time to cut up the spruce.  These boards are so long that I had to move my tools out to the garage so that I could send the outfeed end into the great outdoors.


My first step was to snap a chalk line, set up a fence and trim with a portable circular saw to get a straight edge to bear against the fence. 


Then I made some sawdust.  Here are the eight mast staves, two pieces of the yard, two pieces for the boom, and the stock for the two carlins.  I cut off the extra length from the long carlin to scarf onto the ends of two mast staves that came out of a board that was just a bit too short. 


I sent everything through the surface planer to reduce them to dimension,  and then scarfed the two short mast staves.


I then laminated the boom and yard.


Next up was to taper the mast staves.  I decided to do this by clamping them all together and planing them down.  I layed out guide lines on the two outer staves so I could tell when I was done.


I took off the bulk of the wood with a power planer, and then finished up with hand tools, which are more precise and controllable. 


After planing the taper, I applied two coats of epoxy to what will be the inner surfaces of the hollow mast.


I set up my birdsmouth cutter in the router table to cut the edges.  I test fit the parts, and it looks like it will make a mast.  Here's the diameter of the base. 


And here's the size of the top end.


The boom and yard have tapers on each end.  I was able to saw away some of the wood on the boom, but the remainder of the machining on that and all of the shaping on the yard was with hand planes, which made an impressive pile of shavings.


Next up with these parts will be to make the plugs for the ends of the mast and glue that up, round off the corners of the boom, and plane the mast and yard to final round dimensions.