A couple posts ago I talked about installing the gunwales and carlins on the hull, and discussed the problems I was having with the epoxied scarf joints giving way under the heat of the steam. To avoid the problem when installing the carlins, I wanted to get those parts in one piece.
My thoughts turned to the four beautiful Sitka Spruce boards I have had taking up space in the garage since April or so. These were destined to be turned into mast, boom, and yard. But I took another look at them and realized that with judicious layout and cutting I would have enough stock to get the carlins out, too.
Since the carlins were next to be installed, I decided it was time to cut up the spruce. These boards are so long that I had to move my tools out to the garage so that I could send the outfeed end into the great outdoors.
My first step was to snap a chalk line, set up a fence and trim with a portable circular saw to get a straight edge to bear against the fence.
Then I made some sawdust. Here are the eight mast staves, two pieces of the yard, two pieces for the boom, and the stock for the two carlins. I cut off the extra length from the long carlin to scarf onto the ends of two mast staves that came out of a board that was just a bit too short.
I sent everything through the surface planer to reduce them to dimension, and then scarfed the two short mast staves.
I then laminated the boom and yard.
Next up was to taper the mast staves. I decided to do this by clamping them all together and planing them down. I layed out guide lines on the two outer staves so I could tell when I was done.
I took off the bulk of the wood with a power planer, and then finished up with hand tools, which are more precise and controllable.
After planing the taper, I applied two coats of epoxy to what will be the inner surfaces of the hollow mast.
I set up my birdsmouth cutter in the router table to cut the edges. I test fit the parts, and it looks like it will make a mast. Here's the diameter of the base.
And here's the size of the top end.
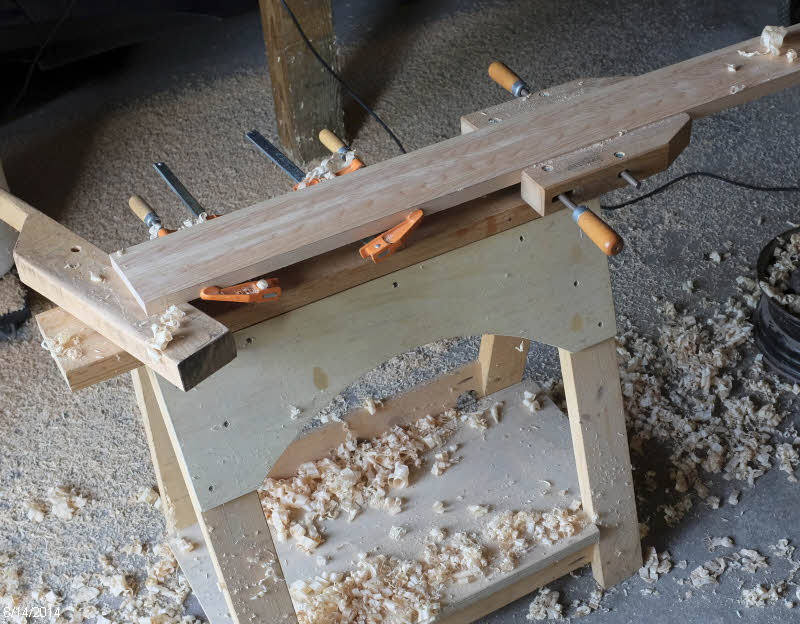
The boom and yard have tapers on each end. I was able to saw away some of the wood on the boom, but the remainder of the machining on that and all of the shaping on the yard was with hand planes, which made an impressive pile of shavings.
Next up with these parts will be to make the plugs for the ends of the mast and glue that up, round off the corners of the boom, and plane the mast and yard to final round dimensions.


I'm learning all kinds of fun stuff from your project Dave. For example, it never occurred to me that the mast would be hollow!
ReplyDeleteThanks for reading and commenting, Erik! I don't know if there will be any more surprises, but you never know...
DeleteDave, Looking good! Wasn't the mast building an awesome experience? So cool to have a real wooden mast! I love the authentic look of the wood. I left mine very somewhat rough with a very hand-hewn look.
ReplyDeleteThanks, Brent! I haven't actually glued up the mast yet, but that's coming up. I have been making a bunch of shavings planing down the yard, and that's been fun.
Delete